Tips For Wireless Bridge Outdoor
2022.03.21 / By hqt
Put your router in bridge mode
Let's say that you are working with two wireless bridges outdoor of an inexpensive but reliable brand. And there was a need to "combine" them. Moreover, the first action that you will perform is to go to the control panel. At this stage, difficulties should not arise, since everything is done fairly quickly.
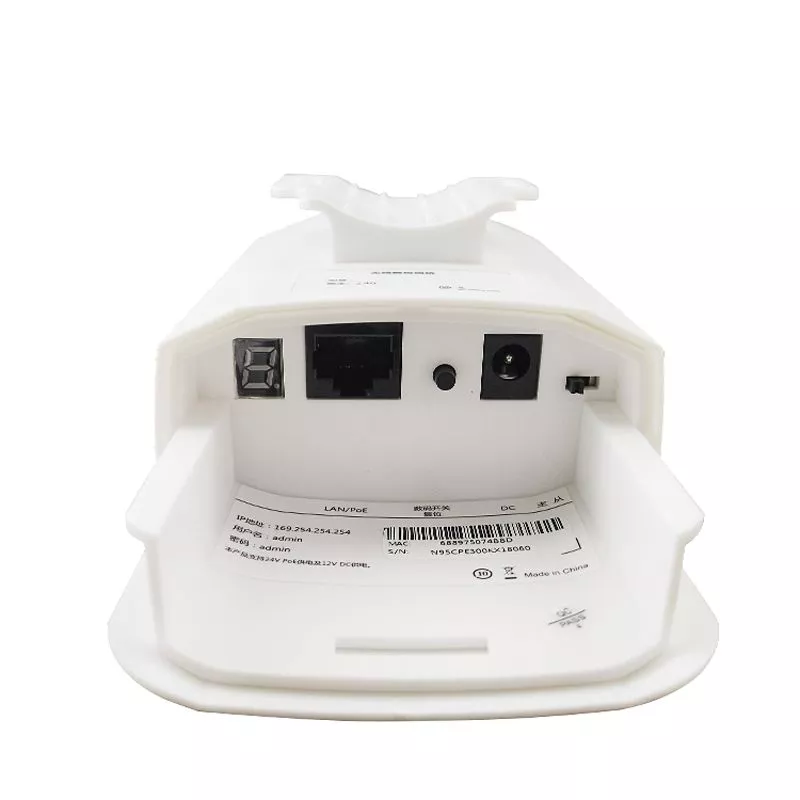
We open any browser on the computer, and in the address bar, we enter the address of the router. You can view these data on a sticker attached to the bottom of the device.
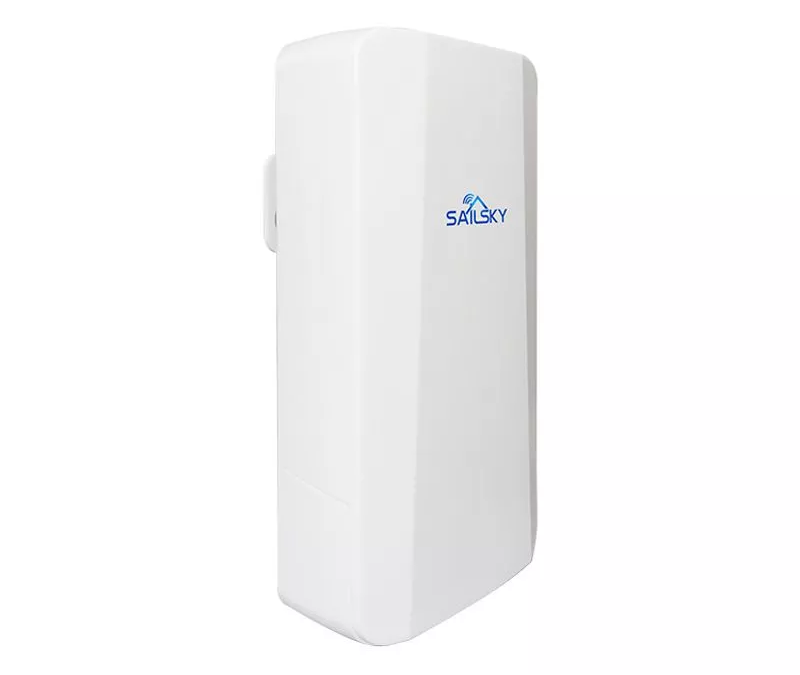
Wireless bridge outdoor Operation
After that, a window will open in front of you asking you to go through authorization. Here you need to enter your username and password. Let's look at the label again. On the first wireless bridge outdoor, you need to install a separate channel.
We select it from the list in the range from one to thirteen. Don't forget to check the WDS activation box. We save the changes made.
Let's say that on the second router you did the same manipulations. But the bridge mode is not activated for some reason. Please note: this problem occurs for one simple reason. You must set a static IP address for the connected device. Moreover, if you use two identical parameters for two routers, an address conflict will occur. And the bridge won't work.
Setting up the wireless bridge outdoor
If the address of the first router ends with 0.1, the second one can be set to 0.2. the default gateway settings do not need to be changed. You can only change the last digit since the two devices will work on the same network. Then you need to come up with a name for the created connection.
We set the channel the same as on the main router. We activate the WDS function and start searching for all available networks. When the device finds the desired network, click on it to connect.
You will also need to select a security type. The next step is to enter the security key for the underlying network. Don't forget to save your changes.
Moreover, after entering the new parameters, restart the wireless bridge outdoor. After the reboot, pay attention to the status of WDS. It must be activated. Knowing how to set up a bridge between two routers can significantly expand the functionality of devices. You can set this mode between routers of different models.
Advantages of bridge outdoor wireless
Bridge mode, like all other functions on the router, has its positive and negative sides. Let's start with the benefits:
- Simple and affordable settings. The user does not need to have special knowledge or skills to quickly set up the bridge.
- Bridge mode does not result in locks or restrictions. The device functions as a direct channel between the service provider and the user.
- You can expand the range of your wireless bridge outdoor.
Function lock
If necessary, the user can disable the bridge mode. You need to make changes to the settings on the second router. We go into the configuration settings and activate the router mode. Then you will need to make some settings. We select PPPoE, we register login and the password.
Moreover, you can return your original address. After making changes and restarting, the wireless bridge outdoor will work again as a standard router.
If there is no Internet in WDS mode
If everything is done correctly, the Internet can only be used through Wi-Fi. But if you connect to the router via cable, there will be no Internet in the area. If you set up WDS mode, you will receive IP addressing from the first router both wired and wireless.
Moreover, to configure everything correctly, you need to disable the DHCP server on the device where the bridge option is configured. In addition, both wireless bridges outdoor must be on the same subnet. Therefore, to access the Internet, disable DHCP. Then you will be able to access the global network via cable.
There is a separate DHCP section in the control panel. We go into it and turn off the server. Then save the settings and reboot the router.
There is another issue related to the WDS connection
To access the Internet, you must enter the LAN IP of the base router in the main gateway. Save again and restart your device. There are situations where users cannot configure the bridge mode at all.
There is one practical solution - disable the WPS option on two routers. For TP-Link models, you need to go to the web interface. Then find the corresponding section with VPS and deactivate the function. We perform deactivation on two devices.
Although the bridge mode is rarely used, it will still be useful to know how it is enabled.
How to reset options in wireless bridge outdoor?
If the router started to function incorrectly, it can be returned to the factory settings. There is a dedicated reset button on the back of the case. Usually, manufacturers label it RESET. Since it is recessed into the case, you will need a thin object. Hold down the button for about fifteen seconds.
Moreover, when the LED indicators flash, the settings will be reset successfully.
The second way to reset the parameters involves using the control panel:
- We go to the web configurator.
- We find the category "Administration".
- Select "Manage settings".
- Near the column "Factory settings" you will see the option "Restore".
- Press the button and wait for the end of the process.
What malfunctions can occur during operation
In terms of reliability, SAILSKYWIFI products are noticeably ahead of many competitors. Model wireless bridge outdoor has good performance. Moreover, after the initial setup, the router will work for a long time. Most often, problems arise due to incorrect connections or user errors.